How to Buy Decentralized Crypto A Practical Guide
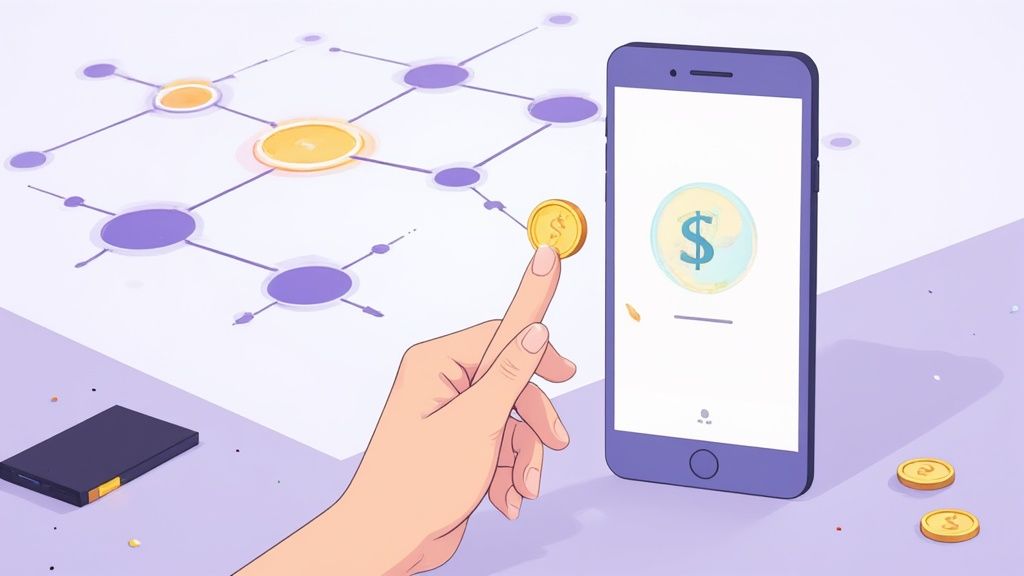
Tired of feeling like your crypto is just on loan from a big exchange? If you want to truly own your digital assets, you'll need to dive into the world of decentralized finance. The basic game plan is simple: get a personal crypto wallet, send some base currency like ETH or SOL to it, and then use a decentralized exchange (DEX) to swap for the exact asset you're after.
This whole process puts you in complete control, from start to finish.
Why Go Decentralized for Your Crypto?
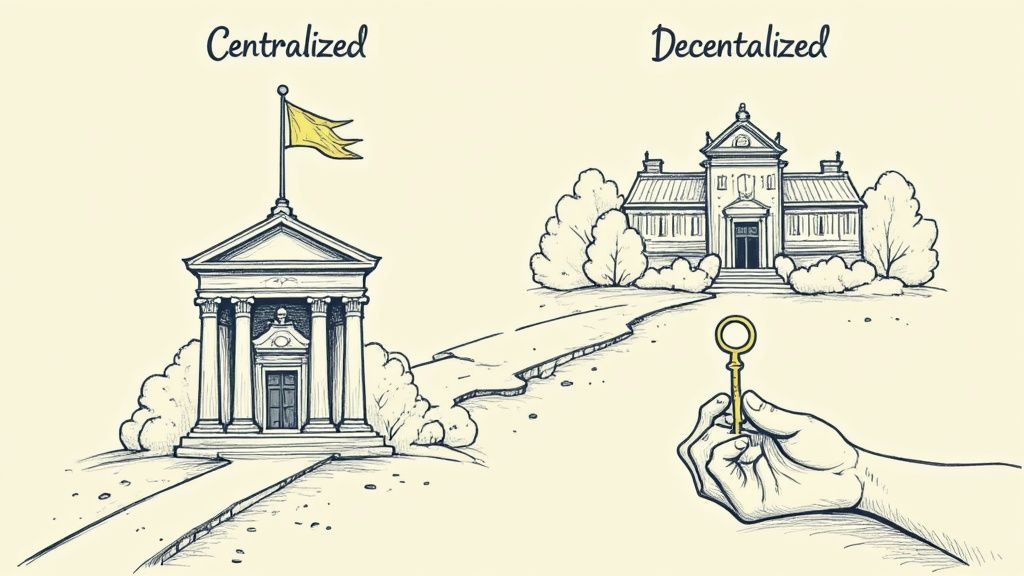
Moving away from big-name platforms like Coinbase or Binance is all about one thing: true ownership. When you buy crypto on those services, they're the ones holding your assets for you. Going decentralized is a deliberate shift to self-custody, where you—and only you—hold the keys to your funds.
It’s the digital equivalent of keeping cash in your own safe versus leaving it in a bank vault. This is the heart and soul of decentralized finance (DeFi).
The Power of Self-Custody
Making the switch to decentralized platforms puts you squarely in the driver's seat. It's about participating in an open, permissionless financial system where you don't need anyone's approval to manage your money. I've found this approach has some massive upsides:
- Total Control: No one can freeze your account or block a transaction. The assets are yours, and you can move them whenever and wherever you want.
- Access to Innovation: DeFi is where the action is. New, exciting, and sometimes a little bit risky projects almost always launch here first, giving you a crack at a much wider universe of digital assets than you'll ever find on a centralized exchange. You'll run into all sorts of tokens in cryptocurrency out here in the wild.
- Enhanced Privacy: Forget submitting your passport and a utility bill just to trade. On a DEX, you can interact with protocols without invasive personal identity checks, which is a huge plus for privacy.
The real "why" behind learning to buy decentralized crypto is sovereignty. It’s about being your own bank, which gives you incredible freedom but also a ton of responsibility.
The DeFi market itself is a testament to this shift. The entire ecosystem was valued at around USD 20.48 billion in 2024, but it’s projected to explode to over USD 231 billion by 2030. You can dig into the data on this massive growth at Grand View Research.
Ready to jump in? Let's walk through the steps to get you started in this exciting world.
Choosing Your First Non-Custodial Wallet
Alright, this is where your journey into real, decentralized crypto begins: picking your wallet. Think of it less like an app and more like your personal vault and your passport to the entire decentralized web. This is a huge shift from using a centralized exchange where they hold onto your assets for you. With a non-custodial wallet, you are the only one in control.
That's incredibly empowering, but I get it—it can also feel a little intimidating at first. Getting this part right is easily the most critical step. It’s the foundation for everything you’ll do in DeFi.
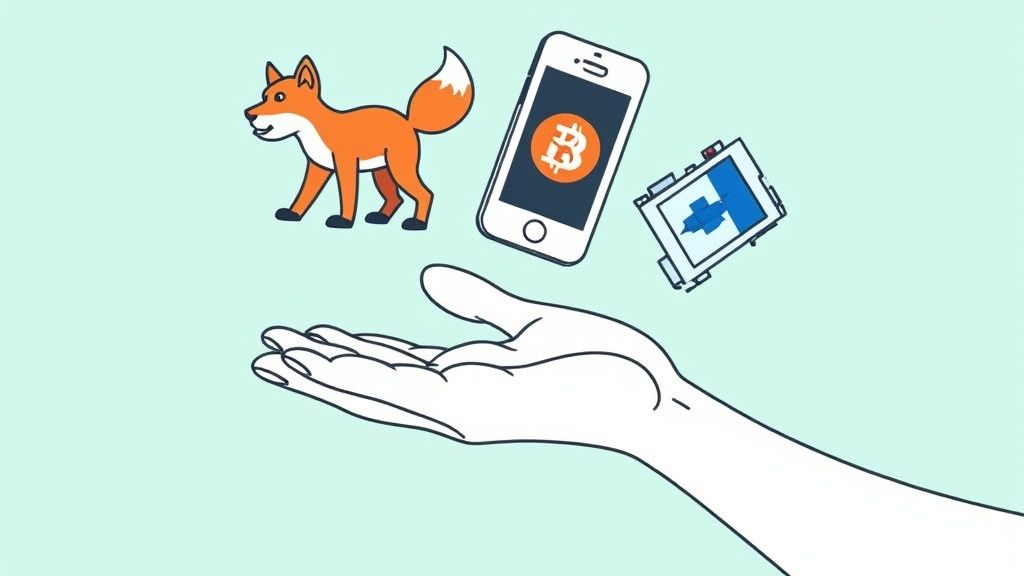
Browser vs Mobile vs Hardware Wallets
Wallets aren't a one-size-fits-all deal. They come in a few different flavors, and the best one for you really boils down to how you plan on using it. You're basically trading off between convenience and security.
- Browser Extensions: If you're going to be actively trading or using DeFi apps, these are your best friend. A wallet like MetaMask plugs right into Chrome or Brave, making it super easy to connect to DEXs without any friction.
- Mobile Apps: Perfect for managing your crypto when you're not at your desk. Mobile wallets like Phantom or Trust Wallet let you check your bags and make moves from anywhere.
- Hardware Wallets: For anyone serious about security (and that should be all of us), a hardware wallet is the gold standard. Devices from Ledger or Trezor keep your private keys totally offline, which means they can't be touched by online hacks.
Honestly, most experienced folks use a combination. I use a browser wallet for my day-to-day degen activities and keep the majority of my long-term holds safely tucked away on a hardware wallet. It gives you the perfect mix of easy access and iron-clad security.
The single most important part of any non-custodial wallet is the seed phrase, sometimes called a recovery phrase. It's a list of 12 or 24 words that can bring your wallet back to life on any device. Guard this with everything you have.
The Sacred Rule of Your Seed Phrase
If you only remember one thing from this entire guide, let it be this: never, ever store your seed phrase digitally.
Don't screenshot it. Don't save it in a notes app. Don't email it to yourself or stick it in a password manager. I’ve seen too many horror stories from people who lost everything because a hacker found a simple screenshot in their Google Photos or a text file in their Dropbox.
Write it down on a piece of paper—or better yet, get it etched into a small piece of metal—and lock it away somewhere safe and offline. This phrase is the master key to all your funds. If you lose it, your crypto is gone for good. If someone else gets their hands on it, they can drain your wallet in seconds.
Which Non-Custodial Wallet Is Right for You?
Choosing a wallet can feel overwhelming with all the options out there. This quick comparison should help you narrow down the best starting point for your needs.
| Wallet | Best For | Supported Chains | Type |
|---|---|---|---|
| MetaMask | Beginners, Ethereum & EVM chains | Ethereum, Polygon, BSC, Avalanche, etc. | Browser & Mobile |
| Phantom | Solana ecosystem users | Solana, Ethereum, Polygon | Browser & Mobile |
| Ledger | Long-term holding & maximum security | 5,500+ coins & tokens | Hardware |
| Trust Wallet | Mobile-first users, multi-chain support | 70+ blockchains | Mobile |
Ultimately, the best wallet is the one that fits your habits and security comfort level. For most people jumping into Ethereum and its extended family of blockchains, MetaMask is the perfect place to start.
As you can see right on their homepage, MetaMask pitches itself as your gateway to this new web, a place to buy, store, and swap tokens. While it’s set up for the Ethereum network right out of the box, you’ll quickly learn that DeFi is a multi-chain universe. To play on other blockchains, you'll need to add their network details to your wallet, which is a common first step that trips up a lot of newcomers.
If you need a hand with that, we've got a simple guide that walks you through exactly how to add a new network to MetaMask.
Putting Some Gas in the Tank: How to Fund Your New Wallet
Alright, so you've got your wallet set up and your seed phrase is tucked away somewhere safe. Fantastic. But right now, it's just a slick-looking app. To actually dive into the world of decentralized crypto, you need to load it up with some funds.
First things first, you can't just buy some obscure altcoin without having the right "base" currency. Every transaction on a blockchain requires a small fee, known as gas, to pay the network operators. It's like needing a few bucks for the toll booth before you can get on the highway.
- On the Ethereum network, that means you need ETH.
- Heading to Solana? You'll need some SOL.
- For the Avalanche network, it's AVAX.
I've seen so many newcomers make this mistake. They’ll send a stablecoin like USDC to their new wallet, then get frustrated when they can't swap it for anything. Without the network's native token to cover gas, your transactions are dead on arrival.
Your Two Main Paths to Funding
Getting that initial crypto into your wallet really boils down to two main options. Each has its pros and cons, usually trading convenience for slightly higher fees.
This handy graphic breaks down the two most common ways people get started, showing how you get from cash in the bank to crypto in your wallet, ready to trade.
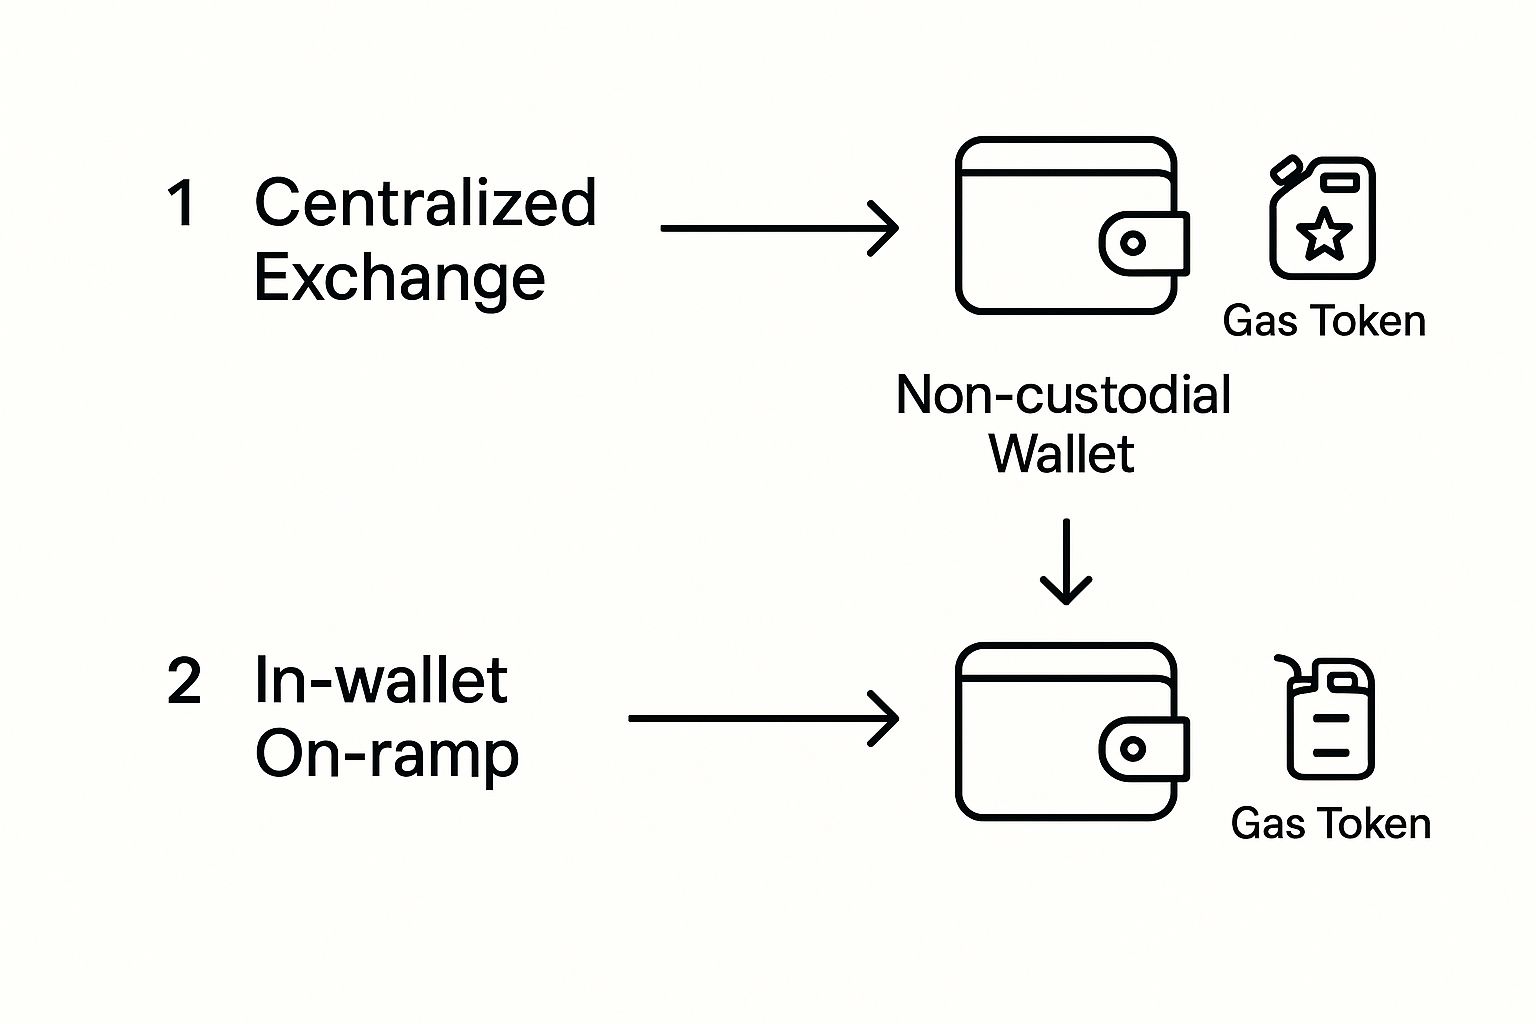
As you can see, no matter which route you take, the destination is the same. You need crypto and a bit of gas money in your own self-custody wallet before you can do anything else.
Your first and most popular option is to use a centralized exchange (CEX). Think of big names like Kraken or Binance. You buy your crypto there with dollars or euros and then withdraw it to your personal wallet. This is usually the cheapest route, but it involves an extra step.
The second path is a direct on-ramp service. Modern wallets are making this super easy, with built-in features to buy crypto right in the app using a credit card or bank transfer. It’s definitely the faster, more convenient choice, but you'll typically pay for that convenience with higher fees and lower buying limits.
My Two Cents: If you're just starting out, I highly recommend using a centralized exchange first. It forces you to learn the ropes—how to find your wallet address, copy it, and execute a proper withdrawal. These are foundational skills you’ll use constantly.
To do this, just open your MetaMask or Phantom wallet and look for your address. It’s a long string of characters (on Ethereum, it will start with "0x"). Copy that address. Then, go to your exchange, navigate to the withdrawal page for the crypto you want to send, and paste your wallet address into the destination field.
Seriously, double-check that address. Then check it again. Blockchain transactions are final. Once you're sure, select the correct network and send a tiny test amount first. When that little bit lands safely in your wallet, you know you're good to go. Send the rest, and welcome to the party.
Alright, you've got your wallet loaded up and ready to go. Now for the fun part: diving into the decentralized economy and making your first trade. This is where a Decentralized Exchange, or DEX, comes in.
Think of a DEX as a peer-to-peer marketplace that runs entirely on code, directly on the blockchain. There's no company in the middle, no one asking for your ID, and no order book like you'd see on a traditional exchange. It's just you, your wallet, and a global pool of assets.
This way of trading has absolutely taken off. Global DEX trading volume has jumped by about 37%, hitting an average monthly volume of around $412 billion. DEXs built on Ethereum are the undisputed kings, handling nearly 87% of all that volume as of early 2025. You can dig into more of these numbers in these recent decentralized exchange statistics.
Getting Hooked Up to a DEX
Getting started is way easier than it sounds. We'll use Uniswap as our example since it's one of the biggest and most straightforward DEXs on Ethereum.
Just head over to the official Uniswap site and look for a button that says "Connect Wallet." Click it, and your browser wallet (like MetaMask) will pop up, asking if you want to connect.
Giving it permission doesn't hand over control of your crypto. It simply lets the website see your public wallet address and what tokens you hold so you can start trading.
Here’s a look at the kind of clean, no-fuss interface you’ll find on most modern DEXs.
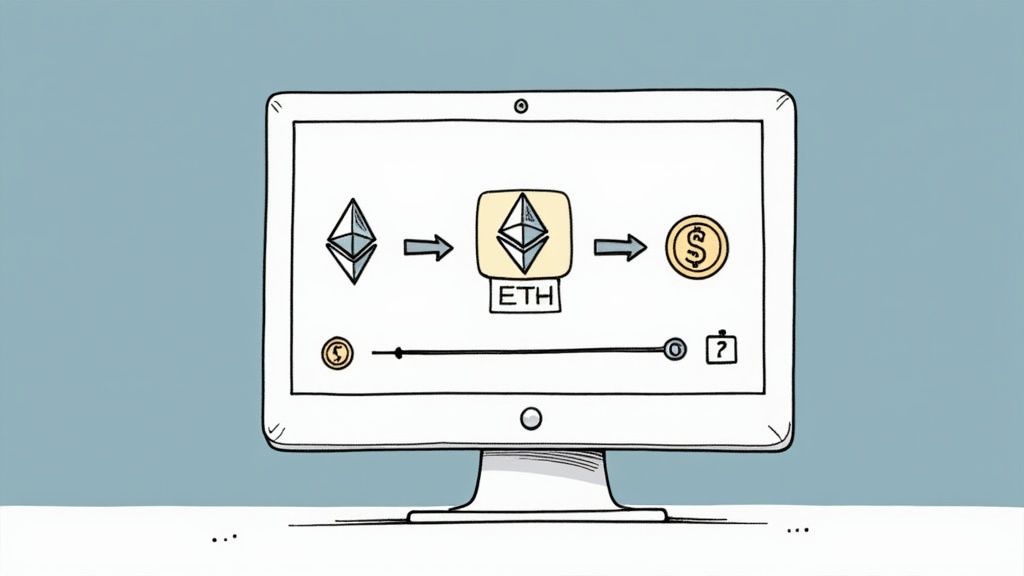
As you can see, it's built for one thing: swapping one token for another. You've got two main boxes—one for what you're selling and one for what you're buying. Simple.
How a Token Swap Actually Works
Once you're connected, you're ready to do a token swap. It’s exactly what it sounds like: you're swapping a token you have (like ETH) for one you want.
Let's say you have some ETH and you've got your eye on a hot new token called Project X (PXT). Here's the play-by-play:
- Pick Your "From" Token: In the top box, select the crypto you already have in your wallet. In our case, that's ETH.
- Pick Your "To" Token: In the bottom box, search for the token you want to buy—PXT. You can usually find it by its ticker symbol or, for newer tokens, by pasting its official contract address (always get this from a trusted source!).
- Set the Amount: Just type in how much ETH you want to spend. The interface will do the math and show you exactly how many PXT tokens you'll get at the current price.
This whole process is fueled by something called liquidity pools. These are massive pools of paired tokens that other users have deposited. So, you're not trading with a specific person; you're trading with the pool. If you want to see how other platforms handle this, check out this look at KyberSwap and its features, another solid DEX.
A Quick Word on Slippage Tolerance
Before you hit that final "Swap" button, you'll see a little setting called slippage tolerance. Don't ignore this. It's a key concept to understand when you're learning how to buy decentralized crypto.
Crypto prices can change in a flash—literally in the seconds it takes for your transaction to get confirmed on the blockchain. Slippage is your safety net against getting a raw deal.
Slippage tolerance is the maximum price change you're willing to accept for your trade to go through. If the price moves against you by more than your set percentage, the transaction will simply fail, and you keep your funds.
For big, well-known tokens, a slippage of 0.5% to 1% is usually plenty. But if you're buying a brand-new or super-volatile token, you might need to bump it up a bit to make sure your trade goes through. Just be careful—setting it too high can make you a target for bots that might try to give you a worse price.
How to Confirm Your Purchase on the Blockchain
Alright, you've navigated the DEX, found the token you want, and your cursor is hovering over that final 'Swap' or 'Confirm' button. This is the moment of truth. But what happens after you click is just as crucial.
Your wallet will pop up with one last confirmation screen. It's tempting to just smash that 'Confirm' button and get on with it, but hold on. This is your final chance to review everything before your transaction is broadcast to the entire network.
This little pop-up is your pre-flight check. It’ll show you the estimated gas fee (the network's toll for processing your trade) and the total cost. Most importantly, double-check that the contract address you're interacting with belongs to the DEX you think you're using. It's a quick sanity check that can save you a lot of headaches.
Did it Go Through? Verifying Your New Assets
Once you hit confirm, your transaction is fired off into the "mempool"—a sort of waiting room for transactions. From there, a validator will grab it and bake it into the next block on the chain. This can take a few seconds or a couple of minutes, especially if the network is busy.
Your first clue that everything worked will be seeing the new tokens pop up in your wallet. But here's a pro-tip: your wallet app is just a nice-looking interface. The real proof of ownership lives on the blockchain itself. This is where you learn to use a block explorer.
- For Ethereum: You'll want to get familiar with Etherscan.
- For Solana: Solscan is your best bet.
Every major blockchain has one of these. Think of it as a public search engine for every transaction that has ever happened. This radical transparency is a cornerstone of decentralized finance.
Your wallet is just a window to the blockchain. The blockchain itself is the ultimate source of truth. If a block explorer says you own the assets, you own them—period.
Using a Block Explorer Like a Pro
After your swap goes through, your wallet should provide a transaction hash (sometimes called a TxID). This is basically a unique receipt number for your trade. Copy that long string of letters and numbers.
Now, head over to the right block explorer and paste that hash into the search bar.
You’ll see a complete breakdown: the status (hopefully "Success!"), which block your transaction was included in, the exact gas fee you paid, and the flow of tokens. You can literally see the assets moving from the DEX's liquidity pool straight to your wallet address.
This permanent, unchangeable record is what self-custody is all about. You’re not just taking my word for it; you're plugging directly into a massive, open financial network. And it is massive—the total value locked (TVL) in DeFi protocols recently surged to $123.6 billion. Ethereum still leads the charge, commanding about 63% of that total. You can dive deeper into these figures with these blockchain statistics from Webisoft.
Seeing your own trade confirmed on-chain for the first time is a cool feeling. It’s your official entry ticket to this whole new world.
Got Questions About Decentralized Crypto? We’ve Got Answers.
Diving into decentralized finance can feel like stepping into a whole new world with its own language. It's totally normal to have a ton of questions swirling around. Let's clear up a few of the most common ones so you can feel more comfortable making your first moves.
For starters, let's talk lingo. What’s the deal with "coins" versus "tokens"? A coin, like ETH or SOL, is the lifeblood of its own blockchain—it's what you use to pay for transaction fees (gas). A token, on the other hand, is built on an existing blockchain and can represent pretty much anything, from a piece of a project to a special access pass.
Another thing that trips people up is the permanence of it all. What if you mess up a trade? Can you hit the undo button? The short, and sometimes brutal, answer is no. Once a transaction is confirmed on the blockchain, it’s set in stone forever. This is exactly why you have to triple-check every single detail before you hit that final confirmation button.
So, Are Decentralized Exchanges Actually Safe?
This is the big one, and it's not a simple yes or no. The core technology that powers a DEX, called a smart contract, is usually rock-solid—especially on massive platforms like Uniswap that have been picked apart and audited by experts countless times. The exchange itself isn't going to disappear with your crypto.
But the dangers in DeFi are just… different. You're the one in charge, which means you're also the head of security.
Here’s what you really need to watch out for:
- Dodgy Code (Smart Contract Bugs): A bug in a brand-new or untested DEX's code can be a goldmine for hackers. Play it safe and stick with the exchanges that have a long, proven track record.
- The Infamous Rug Pull: The risk often isn't the exchange, but the random token you're about to buy. Scammers are masters at creating a new token, hyping it up, and then yanking all the money out of the liquidity pool, leaving everyone with worthless digital dust.
- Impermanent Loss: This is a tricky one that only applies if you're providing liquidity. It's a weird phenomenon where you can end up with less value than if you had just kept the two assets in your wallet instead of pooling them.
Bottom line: The underlying DEX technology is pretty secure, but the wild west environment means you have to be vigilant. Do your homework on every project, understand the real risks, and if a smart contract feels sketchy, it probably is.
Why Do Gas Fees Go Through the Roof Sometimes?
Ah, gas fees. Everyone’s first "welcome to DeFi" moment is seeing an eye-watering gas fee. These fees aren't just made up; they're all about supply and demand on the network. Think of it like surge pricing for an Uber during a downpour.
When everyone and their dog is trying to trade at the same time—like during a hyped-up new token launch—the network gets clogged. To get your transaction pushed to the front of the line, you have to pay more. It's a simple bidding war.
A pro tip is to always check a gas tracker before you trade. If the fees are insane, just wait. Trying to trade late at night or on a weekend when the network is quieter can literally save you a ton of money. Falling for high gas is a classic rookie mistake when you're learning how to buy decentralized crypto.
Ready to put these insights into action and engage your own community? Domino provides all the tools you need to launch powerful, reward-based campaigns that drive on-chain and off-chain user activity. Skip the code and start building your Web3 community today. Explore Domino and start for free.