A Practical Guide to Quest Email Login and Passwordless Auth
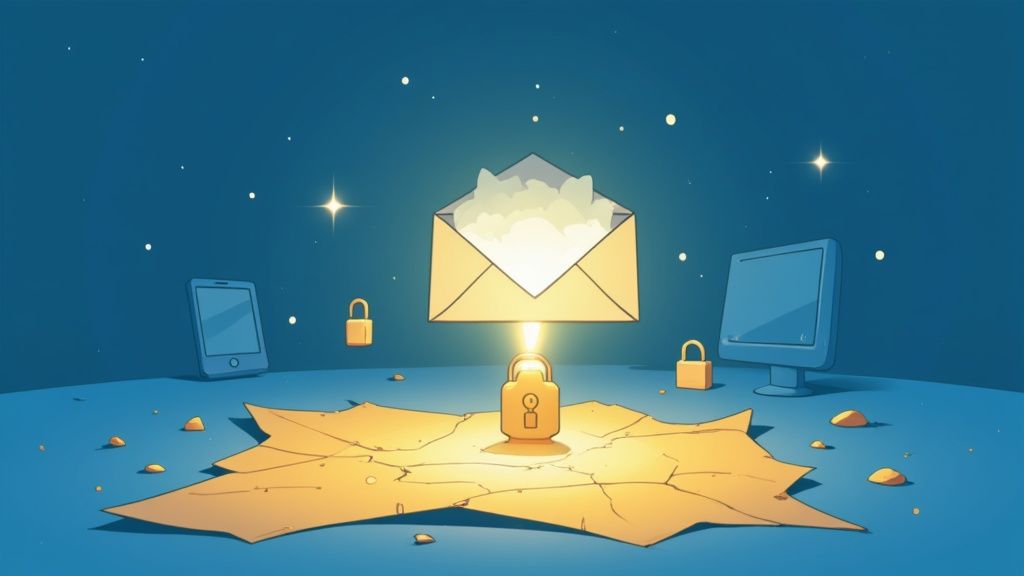
When you hear quest email login, you should be thinking "magic links," not clunky passwords. This whole passwordless approach is quickly becoming the go-to for modern platforms, and for good reason. Especially in web3, it's all about getting people in the door fast, and ditching the old username/password routine is a massive step in that direction.
So, Why Are We All Ditching Passwords?
Let's be real—nobody likes passwords. The whole cycle of creating one you'll actually remember, forgetting it a week later, and then jumping through hoops to reset it is just a huge pain. It's frustrating for users and a constant headache for support teams.
This is exactly why the passwordless quest email login has caught on. It trades that flimsy, forgettable password for a secure, one-time-use link sent right to your inbox. You know, a place you already trust and check constantly.
This isn't just a minor tweak; it's a completely different (and better) way of thinking about user access. For community platforms, especially in web3, getting people signed up and engaged without any friction is everything. Dropping the password requirement can be the one thing that keeps a new user from bouncing.
The Actual Wins of Going Passwordless
The benefits you'll see go way beyond just a simpler login screen. It creates a ripple effect that improves things for both your community and your own team.
- Users are happier. Seriously, they never have to click a "Forgot Password" link again. The entire process boils down to checking their email and clicking. That's it.
- Your support queue gets shorter. A massive number of help tickets are all about password problems. When you eliminate passwords, you free up your team to tackle things that actually matter.
- It's genuinely more secure. Passwordless systems sidestep all those common credential stuffing attacks where bad actors try to brute-force their way in using lists of stolen passwords.
- Onboarding rates go up. A slick, easy signup process means more people actually finish it and start participating right away.
This approach also plugs directly into the email ecosystem, which is massive. Back in 2019, Gmail alone had over 1.5 billion active users. Just about everyone has an email, making it the perfect universal ID. With email open rates hovering around 21%, it's clear the inbox is still a reliable and active channel. If you're curious, you can dig into some of the latest email marketing statistics that really drive this point home.
The Bottom Line: Shifting to passwordless login isn't just a trendy move; it's a smart evolution. It lines up security with user-friendliness, creating a better experience that helps keep users around and cuts down on the operational grind for your team.
Building Your First Passwordless Login Flow
Alright, let's roll up our sleeves and get into the nitty-gritty of your quest email login. Moving from theory to a working system is where the magic really happens. Our goal is to create a secure, one-time-use link that gets users signed in with a single, satisfying click.
At its heart, this "magic link" process is a well-choreographed dance between a few key components. You need a way to generate a unique token, an email that actually gets delivered and opened, and a backend endpoint that can catch the token and verify it when the user clicks.
The whole user journey is designed to be ridiculously simple, as you can see here.

This breaks down the entire experience: the user pops in their email, they get a link, they click it, and they're in. Secure and seamless.
Generating Secure Login Tokens
The token is the lifeblood of your passwordless system. It has to be unique, securely generated, and tied to a specific user for a very short period. I've found that using a universally unique identifier (UUID) or a cryptographically secure random string is the way to go—it's the industry standard for a reason.
So, when a user asks to log in, your backend kicks into action:
- It whips up a brand-new, random token.
- It then stores a hash of that token in your database, linking it to the user's email.
- Finally, it sets an expiration time on it. I usually go for somewhere between 15-30 minutes.
You never, ever want to store the raw token itself. Hashing it is a non-negotiable security step, just like you’d do with a regular password.
Crafting the Perfect Login Email
That email carrying your magic link isn’t just a system notification; it's a huge part of the user experience. It must be crystal clear, look trustworthy, and be designed to avoid the dreaded spam folder.
Keep the text short and to the point. Something like, "Click the button below to sign in to [Your Platform Name]. This link is only good for 15 minutes." A big, obvious button works so much better than a simple text link. If you're looking to build out your backend email services without reinventing the wheel, check out a pre-built solution like the one at https://domino.run/explore/apps/email-u5e6i4roah to get a solid head start.
A pro tip I've learned is to always tell the user what to do if they didn't request the email. A simple sentence like, "If you didn't ask for this, you can safely ignore this email," adds a ton of reassurance and can cut down on confused support tickets.
Verifying the Token and Creating a Session
When the user clicks that magic link, they're whisked back to your site with the token in tow as a URL parameter. This is the final handoff. Your backend needs a specific endpoint ready and waiting to handle this verification.
Here’s what that verification process looks like:
- First, it grabs the token from the URL.
- Next, it looks up the corresponding hashed token in your database.
- Then, it confirms the token hasn't expired and, crucially, that it hasn't already been used.
If everything checks out, you're golden. The system marks the token as used (so it can't be used again), creates a new user session—usually by setting a secure cookie—and redirects the user to their dashboard. Boom! They're logged in without ever having to remember a password.
As you build this out, especially if you're on a Django backend, it's worth digging into how to implement robust authentication mechanisms to make sure your system is both secure and ready to scale.
Making it All Work: Connecting Domino and Your Front-End
So, you've got a slick passwordless login. That's a great first step. But it's not much good if it doesn't actually connect to your backend systems and the places where your community hangs out. This is where your quest email login becomes the master key, unlocking a user's entire experience across your ecosystem.
The real goal here is to kill the dreaded "log in again" screen. A user shouldn't need a separate login for your main portal, a questing platform like Zealy, and your Discord bot. It’s all about creating one seamless authentication flow.
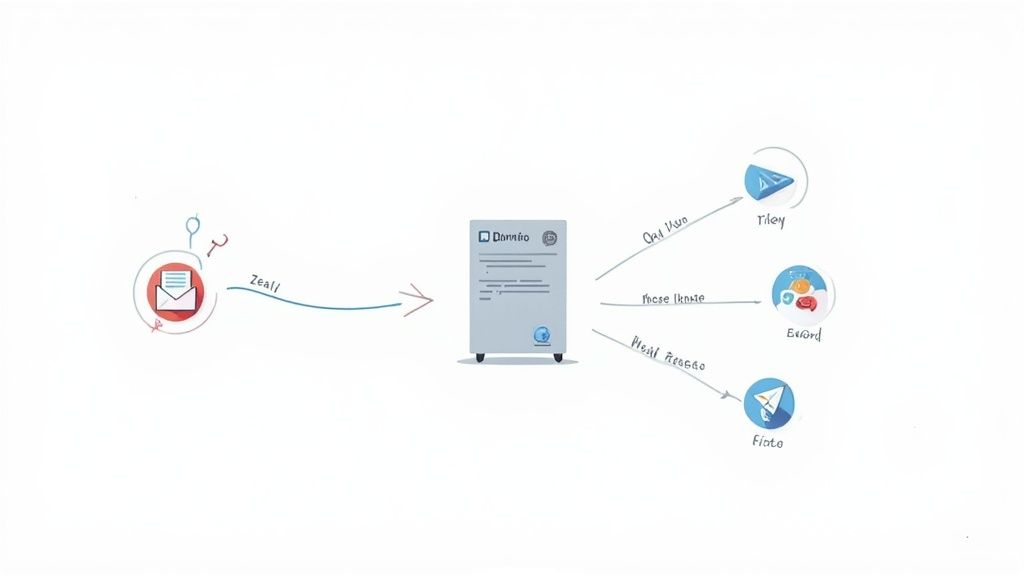
This is precisely why a solid backend connection, especially to a platform like Domino, is non-negotiable. Think of it as the central nervous system for your user sessions. Once someone is verified, that authenticated state needs to be broadcast to every other connected part of your setup.
Getting Your Backend in Sync with Domino
Hooking up your passwordless system to a backend like Domino really boils down to clean API communication. When your server gets a valid click on a magic link, it can't just set a cookie and call it a day. It has to shout from the rooftops to your main application that a new, valid session has just started.
This is almost always done with secure API calls. After a successful login, your authentication service should generate a session token—often a JSON Web Token (JWT)—and pass it over to Domino. Domino can then use that token to safely pull up the user's profile, track their quest progress, and serve up any other personalized data.
If you want to see this in action, checking out platforms like Domino Quests is a great way to understand how these integrated, reward-based campaigns are built. It's crucial for making sure user activity is tracked correctly from the second they log in.
Tying it all Together on Your User-Facing Frontends
Now for the fun part: extending that seamless login to every single place a user interacts with you. Whether it's your custom-built portal, a third-party platform, or a community hub on Discord, the login should feel like it was built right in.
Here's a real-world scenario. A user lands on your white-label portal to jump into a quest:
- They pop their email into the login field.
- They get the magic link and click it.
- Your server authenticates them and whips up a session token.
- This token is securely passed to the portal's front-end, instantly logging them in and showing them their quest dashboard.
The bottom line is that a user's authenticated state has to be portable. A login on one platform needs to be recognized everywhere else without forcing them to do it all over again. That's how you create a frictionless journey.
Connecting to Discord and Telegram Gateways
Integrating your quest email login with community hubs like Discord or Telegram is a slightly different beast, but the payoff for user experience is huge. For these, you'll typically use a gateway bot.
Let's say a user needs to link their account to your Discord server to get into a token-gated channel. Here’s how it usually plays out:
- User Action: They start by typing a command like
/verifyto your Discord bot. - Bot Responds: The bot slides into their DMs with a unique link to your login page.
- The Login: The user clicks the link, enters their email, and does the whole passwordless login thing in their browser.
- The Handshake: Once they're in, your backend now knows which email address belongs to that specific Discord user ID. It can then tell the bot to grant them the right roles on the server.
This turns your login system from a simple website gate into a seriously powerful tool for managing your community and controlling access, all happening inside the platforms where your users already are.
Boosting Security and Email Deliverability
Getting your passwordless login system up and running is a great first step, but the real work is in making it both secure and reliable. A quest email login that works is one thing; one that your users (and their email providers) trust is another entirely. This means building in some smart safeguards to stop abuse and, just as importantly, making sure your login emails actually land in the inbox.
Keeping the Bots at Bay
First, let's tackle security. Anytime you have a publicly accessible login endpoint, you've painted a target on your back for bots. If you're not careful, a bad actor could easily spam your users with a flood of login emails or even try to brute-force their way into accounts.
This is where rate limiting is a lifesaver.
By capping the number of login requests from a single IP address in a given timeframe—something like five requests per minute is a good starting point—you can effectively stop most automated attacks in their tracks. It's a simple fix that makes a world of difference.
It's also smart to keep an eye out for strange login patterns. For instance, if you suddenly see a storm of login attempts for the same account coming from all over the globe, that’s a massive red flag.
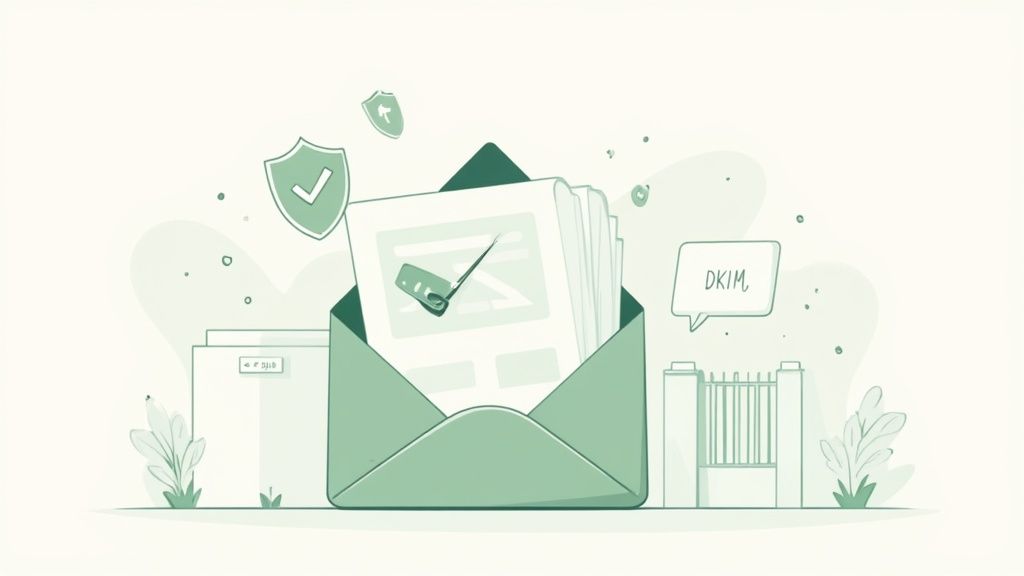
Making Sure Your Emails Actually Arrive
Now for the other side of the coin: deliverability. Your magic link is worthless if it gets buried in a spam folder. I've seen this trip up countless teams, but it's a hurdle you can clear by being strategic about your sending reputation.
Your first move should be to use a dedicated email service provider (ESP) designed for transactional emails. Think services like SendGrid or Postmark. They're built from the ground up for high deliverability and give you the tools you need to look like a legitimate sender.
Next up, you have to get your domain's SPF (Sender Policy Framework) and DKIM (DomainKeys Identified Mail) records configured correctly. These are basically your email's digital passport.
- SPF is a list you publish that tells the world which mail servers are authorized to send email from your domain.
- DKIM adds a cryptographic signature to every email, proving that it really came from you and wasn't altered along the way.
Getting these two records right is a huge signal to providers like Gmail and Outlook that you’re legitimate, which dramatically boosts your chances of hitting the primary inbox. If you want to dive deeper, you can find solid strategies for effective email marketing that touch on these principles.
My personal tip? Keep your email copy incredibly clean and to the point. Ditch spammy-sounding words like "free" or "urgent," and stick to a clear, direct call to action. A simple button that says "Sign In" is perfect.
Finally, remember that diligent monitoring is a cornerstone of good security, especially in corporate environments where tracking access is non-negotiable. Keeping a close watch on user logins is essential for spotting and stopping threats. When your email strategy is part of a larger marketing push, having your tools work together is key. For example, you can check out our guide on integrating Mailchimp with Domino to streamline your workflow: https://domino.run/explore/apps/mailchimp-pob0o6pzp7f.
Solving Common User Login Problems
Let's be real—no matter how slick your quest email login is, users will hit a wall at some point. A perfectly good magic link can get zapped by a zealous spam filter, tangled up in browser weirdness, or just fall victim to simple user error. Having a game plan for these moments is key to keeping everyone happy and your support queue manageable.
When a user complains, "I never got the email," your first stop is almost always the spam folder. It's the usual suspect, especially for folks using corporate email addresses with notoriously strict filters.
Another classic is the expired link. A user might get distracted, come back an hour later, click the link, and... nothing. That’s not a bug; it's a security feature doing its job. The token has a short shelf-life for a reason.
Diagnosing the Root Cause
To actually help someone, you need a quick mental checklist. When a login fails, it’s usually one of these three culprits:
- Email Delivery Hiccups: The email got blocked, their provider is lagging, or they simply fat-fingered their own address.
- Link Validity Issues: They're clicking an old, expired link or one they’ve already used. One-time use means one-time use!
- Browser and Cache Gremlins: An old browser cache or an aggressive privacy extension can sometimes mess with the redirect and break the login flow.
My Pro Tip: The best fix is often proactive. Make your error messages genuinely helpful. Instead of a generic "Login Failed," go with something like, "Looks like this login link has expired. Want to request a new one?" This points them directly to the solution.
Building a User-Friendly Recovery Path
Your main goal should be to help users help themselves. A big, obvious "Resend Link" button is non-negotiable. From my experience, this one feature alone can solve over 80% of login problems without anyone needing to file a support ticket.
Here's another small but powerful touch: send a confirmation email when a user successfully logs in. This does two things. It confirms their access and, just as importantly, helps train their email client to see your messages as legitimate, which boosts deliverability down the line.
These details add up to create a truly solid system. It's why investors are showing more and more confidence in companies that nail secure login tech. The market sees the value—just look at firms like Quest Holdings Inc., which is projected to hit a market cap of around €787 million by August 2025. You can dig into more financial data to see the growing valuation of digital identity technologies for yourself.
By thinking ahead about common failures and building intuitive ways for users to recover, you can turn a potential support nightmare into a smooth, self-service experience.
Common Login Problems and Solutions
For your support team or developers on the front lines, having a quick-reference guide can be a lifesaver. Here’s a breakdown of the most common user complaints we see, what’s likely going on, and how to fix it fast.
| User Complaint | Potential Cause | Recommended Solution |
|---|---|---|
| "I never received the login email." | Spam Filter: The email was flagged and sent to spam/junk. Typo: User entered an incorrect email address. Provider Delay: The user's email service is slow to deliver. |
Ask the user to check their spam/junk folder. Advise them to re-enter their email address carefully. Suggest waiting a few minutes and then using the "Resend Link" button. |
| "The login link doesn't work" or "It says the link is invalid." | Expired Link: The user waited too long (e.g., >15 minutes) to click. Used Link: The link was already clicked once before. Copied Incorrectly: The user didn't copy the full URL. |
Instruct the user to request a fresh link from the login page. Explain that links are single-use for security and to request a new one. Advise clicking the link directly from the email instead of copying. |
| "After I click the link, the page is blank or stuck." | Browser Cache: Outdated data in the browser is interfering. Ad Blocker/Extension: A privacy or ad-blocking extension is blocking the redirect. |
Recommend a hard refresh (Ctrl+Shift+R or Cmd+Shift+R) or clearing their browser cache. Suggest they temporarily disable extensions or try logging in using an incognito/private window. |
| "I got a 'Too Many Requests' error." | Rate Limiting: The user clicked the "Resend Link" button too many times in a short period. | Explain that this is a security measure. Ask them to wait 5-10 minutes before trying again with a single, new request. |
This table should cover the vast majority of login issues your users will encounter. By standardizing your responses, you can ensure consistent, efficient support and get your users back into the action quickly.
Got Questions? We've Got Answers
When you're setting up a quest platform with email login, a few questions always come up. Here are the straight answers to the things we get asked the most, based on our experience building these systems.
Is Passwordless Actually More Secure?
It's a fair question, and in many ways, yes, it absolutely is. Passwordless login completely dodges the biggest security headache out there: weak and reused passwords. Think about it—credential-stuffing attacks, where someone tries a list of stolen passwords, become totally useless.
The security focus just shifts from your database to the user's inbox. That's why it's a great idea to remind your users to enable two-factor authentication (2FA) on their actual email accounts. It adds a powerful layer of protection right where it matters most.
The magic is in the magic link itself. Each one is a unique, single-use token that expires quickly—usually in about 15 minutes. That gives an attacker a ridiculously small window to intercept and use it, which is a key part of what makes this method so strong.
What Happens If a User's Email Account Gets Hacked?
This is the big "what if," and you need a plan. If an attacker gets into a user's inbox, they can request a login link and gain access to their account on your platform. It's a real risk.
The best countermeasure is to automatically send a notification email for any new login from an unrecognized device or IP address. This instantly alerts the real user that something’s off. It gives them a chance to lock down their email and, just as importantly, log out any active sessions on your platform. This is also a perfect opportunity to teach your community about good email security habits.
Can This Work for Both a Website and a Mobile App?
You bet. The core logic is the same, but the implementation has a slight fork in the road depending on the platform.
Here's how it plays out:
- On a Website: The magic link simply opens a new browser tab. Your server validates the token in the URL and, if it checks out, sets a session cookie to log the user in. Easy.
- On a Mobile App: This is where deep linking comes in. When the user taps the link in their email app on their phone, it doesn't open a browser. Instead, it launches your mobile app directly and passes the login token along with it.
From there, your app sends the token to your backend for verification, creating a seamless login experience without ever kicking the user out of the native app environment.
What's the Ideal Expiration Time for a Magic Link?
Ah, the classic balancing act between security and convenience.
If you set the expiration time too short—say, five minutes—you’re bound to annoy users who aren't sitting there waiting for the email. On the other hand, letting a link live for an hour or more just opens up an unnecessary security risk.
From what we've seen, the sweet spot is usually between 15 and 30 minutes.
This gives people plenty of time to check their email without feeling rushed, but it keeps the security window nice and tight. And a crucial final touch: always make it painfully obvious how they can request a new link if the first one expires.
Ready to build your own frictionless, reward-based community campaigns? With Domino, you can design and launch quests in minutes without writing a single line of code. See how leading Web3 teams have powered over 25 million quests and book your demo to learn more.