How to Connect the Bridge for Your Web3 Project

Connecting a cross-chain bridge isn't just a task for your dev team; it's one of the most powerful marketing plays you can make. This single move unlocks entirely new user bases and pools of liquidity for your project. By letting people move their assets smoothly between blockchains, you’re meeting them where they are, which is a game-changer for your project's reach and usefulness.
Why a Cross-Chain Bridge Is Your Marketing Superpower
Let's look at this differently. When marketers hear "connect the bridge," their eyes might glaze over, thinking it's just engineering jargon. But in reality, it’s a massive growth lever. You're literally building a highway that brings new communities right to your project's front door.
This isn't just a nice idea. Think about physical bridges. The global market for building them is valued at around USD 1.19 trillion in 2024, and for good reason—they smash geographical barriers and let economies flow. Digital bridges do the exact same thing for siloed blockchain ecosystems, connecting pockets of users and capital that were previously cut off from each other.
Tearing Down the Walls Around Your Community
Without a bridge, your project is basically an island. You could have the best product and a killer community, but you’re stuck with users who are native to your specific chain. Activating a cross-chain bridge completely flips that script.
All of a sudden, you can run campaigns targeting users on Ethereum, Solana, or Polygon, inviting them to try out your dApp without the hassle of migrating all their assets. This takes your marketing from a single-channel grind to a truly connected, multi-chain strategy.
A connected bridge turns every other blockchain into a potential user acquisition channel. It’s not just about moving assets; it’s about moving people and sparking network effects that were impossible before.
The Direct Hit on Your Growth Metrics
The benefits show up fast and are easy to measure. By turning on cross-chain functionality, you open up growth channels that line up perfectly with what you’re trying to achieve as a marketer. For more on coordinating these efforts, check out our guide on multi-channel campaign management.
A connected bridge gives you a direct line to some serious marketing wins.
Key Marketing Wins from a Connected Bridge
Here's a quick look at the direct marketing advantages you gain by enabling cross-chain functionality for your project.
| Marketing Benefit | Impact on Your Project | Real-World Scenario |
|---|---|---|
| Bigger User Base | Instantly access established communities on other chains. | Run a promotion for Polygon users to try your dApp, offering them a small airdrop for bridging assets over. |
| More Token Utility | Your token becomes more valuable when it can be used across different DeFi protocols and marketplaces. | A user on Avalanche can bridge your token to use it for yield farming on an Ethereum-based protocol. |
| Deeper Liquidity | Tap into larger liquidity pools on other networks, making your token more stable and appealing to big investors. | By bridging to a chain with a major decentralized exchange, your token gets listed in a high-volume liquidity pool. |
Ultimately, a bridge makes your project more accessible, more useful, and more attractive to a much wider audience.
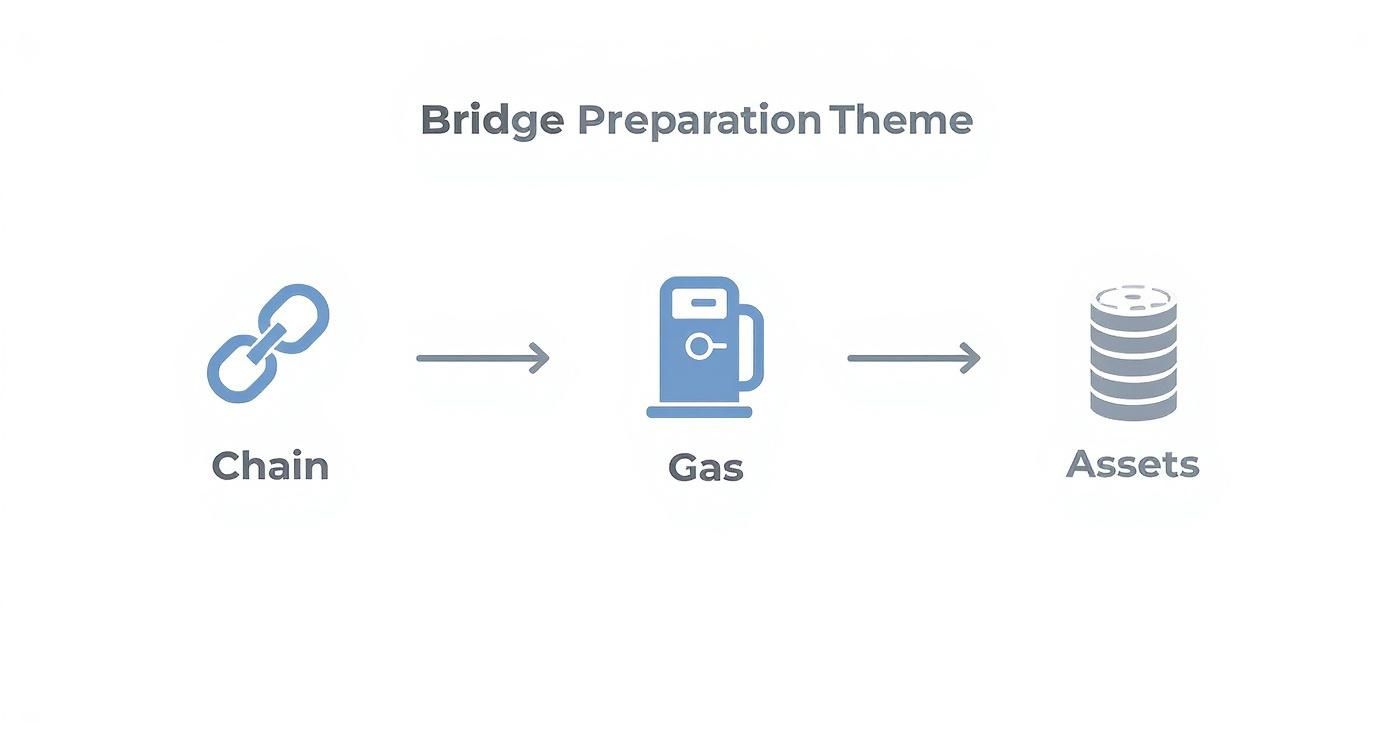
Your Pre-Flight Checklist Before Connecting
Let's be real: jumping into a bridging app without a plan is a recipe for disaster. It's how you end up wasting time, burning gas fees, and wondering where your tokens went. Before you even think about connecting to a bridge, you need to run through a quick pre-flight checklist.
Think of it like getting all your ingredients prepped before you start cooking. A little bit of work upfront makes the whole process faster, cheaper, and way less stressful.
Identify Your Target Chains and Assets
First things first: where are you going, and what are you taking with you? Don't just pick a chain because you heard it was popular. The real question is, where are your users? If your target audience is a community of gamers on Base, then that's where you need to be.
Once you know the destination, you need to decide exactly which assets you're moving. Is it your project’s native token? A stablecoin like USDC? This is a crucial detail, because not every bridge supports every asset on every chain.
A simple breakdown looks like this:
- Source Chain: The network you're sending from (e.g., Ethereum).
- Destination Chain: The network where you want the assets to land (e.g., Polygon).
- Asset to Bridge: The specific token you’re moving (e.g., your project's governance token).
Fund Your Wallets for Gas
This is the one step I see people mess up all the time. Every single on-chain transaction costs a gas fee, and you have to pay it in that specific network's native token. That means you need gas on both the source and destination chains.
Forgetting to fund your destination wallet with its native gas token is a classic rookie mistake. Your assets will arrive, but you won't be able to do anything with them—they’ll be stuck until you send over some gas to pay for transactions.
So, if you’re bridging from Ethereum to Arbitrum, you’ll need some ETH in your wallet to kick things off. But you'll also need a little bit of ETH on Arbitrum to do anything once your funds arrive.
Confirming these on-chain states is a critical part of the process. In fact, you can even learn how to automate contract state validation on any EVM chain to make your life a whole lot easier.
Once your chains are picked, assets are chosen, and wallets are gassed up, you're finally ready to connect.
Seeing a Bridge Connection in Action
Okay, enough with the theory. Let's get our hands dirty and walk through what it actually looks like to use a cross-chain bridge. I’ll break down each click so you can see exactly how assets move from one blockchain to another using a pretty standard interface.
First things first, any bridge you visit will ask you to connect your crypto wallet. This is totally normal. It’s like giving the app a "read-only" pass to see your balances so it can prepare the transaction. It can't—and won't—move a single thing without you explicitly approving it.
You'll be doing all your approvals through an interface that looks something like this.
Think of your wallet as the secure remote for all your on-chain activity. Every important action, from giving permission to the final send, happens here.
Picking Your Networks and Tokens
Once your wallet is connected, you get down to business. Your main job is to tell the bridge where the funds are coming from and where they need to go to.
You’ll see dropdowns to:
- Select the source network (e.g., Ethereum)
- Select the destination network (e.g., Polygon)
- Choose the token you want to send
- Enter the amount
Getting these details right is everything. I can’t tell you how many headaches come from simple misclicks at this stage. Just take a second to double-check that you've selected the right networks and tokens before you move on.
The importance of this digital infrastructure is massive. Just like the real world has a bridge construction pipeline valued at $487.3 billion, Web3 is investing heavily to build these connections. These aren't just for tech's sake; they're vital for linking what would otherwise be isolated islands of users and capital. You can read more about the scale of these infrastructure projects and their economic impact to get a sense of the scale.
The Two-Step Confirmation Dance
After you've triple-checked all the details, you'll need to sign off on two separate actions. This is a common security practice in DeFi, so don't be surprised.
- Give Permission (The Approval): First, you'll sign a transaction that gives the bridge's smart contract permission to interact with your tokens. This doesn't actually move your funds—it just says, "Hey, you have my permission to access X amount of this token for the next step."
- Send It (The Transfer): With permission granted, you'll sign the second, final transaction. This is the one that actually kicks off the bridging process. Your wallet will pop up again, showing you the estimated gas fee (the network transaction cost) before you give the final okay.
A quick heads-up: Bridging isn't instantaneous. What's happening in the background is that the bridge is locking your original assets on the source chain and then issuing a brand-new, equivalent "wrapped" token on the destination chain. This whole process can take a few minutes or, if the networks are slammed, even up to an hour.
Once you hit that final confirm button, you're off! Most bridges will give you a transaction ID (a "hash") that you can plug into a block explorer to watch its journey. Now, you just sit back and wait for the funds to pop up in your wallet on the other side.
Weaving a Bridge into Your Site with No-Code Tools
Having your users manually find and use a bridge works, but let's be honest, it's clunky. The real game-changer is embedding a bridge directly into your own website or dApp. This turns a clunky, multi-step chore into a single, smooth action that keeps users right where you want them: in your ecosystem.
And here’s the best part: you don't need a squad of developers to pull this off. No-code toolkits like Domino let you drop a slick, fully functional bridging widget right onto your site. This simple move puts you in complete control of the user experience, keeping everything on-brand.
Making the Bridge Widget Your Own
A generic widget sticks out like a sore thumb. You want this to feel like a natural part of your platform, not a bolted-on extra. That means you absolutely should get in there and customize its appearance.
Here’s what I always focus on:
- Brand Alignment: First things first, match your brand. Tweak the colors, fonts, and button styles so the widget blends seamlessly with your project's look and feel.
- Smart Defaults: Nudge users in the right direction. If your big marketing push is to bring people over from Arbitrum, set that as the default starting chain. It's a small detail that removes a step and reduces friction.
- A Simpler Flow: Don't overwhelm them with options. Hide or remove any unnecessary fields or networks to guide users toward the exact action you want them to take.
This idea of simplifying complex processes isn't unique to Web3. Think about how technological leaps have sped up physical bridge construction. In the same way, no-code tools are making really powerful tech accessible to everyone. If you're curious about the nitty-gritty, a good starting point is understanding what no-code development entails.
When you embed a widget, you're doing more than just providing a utility. You're designing an experience. The entire goal is to eliminate every bit of friction and turn a potentially confusing task into a simple, satisfying click.
The Axelar bridge app on Domino is a perfect real-world example of this concept. It’s a powerful piece of Web3 infrastructure, made dead simple to integrate. You can check it out here: https://domino.run/explore/apps/axelar-u0kwnnbe8qf
Alright, you’ve put in the work and the bridge is officially connected. Now for the fun part: telling everyone about it.
Launching a cross-chain capability isn't just a quiet backend update. It's a huge marketing opportunity that instantly opens your project up to entirely new communities. The goal here is to transform this new tech into a serious growth driver, and that all starts with shouting it from the rooftops—the right way.
Your first step is to frame your announcement around the user. Forget the technical gobbledygook. No one cares that you've "enabled inter-chain asset transfers." What they do care about is that "You can now bring your ETH directly into our ecosystem to play." See the difference? One is a developer update; the other is an exciting invitation.
Getting Those First Users Across the Bridge
A brand-new bridge with no one using it is just a bunch of code. You need to get things moving right away. This is the perfect time to roll out some juicy incentives to get people to take that first leap.
I've seen these tactics work wonders:
- Be the First: Run a "First Bridger" campaign. Offer a small reward—maybe a fee rebate or a little airdrop—to the first 100 or 500 users who move their assets over from the new chain. Scarcity and bragging rights are powerful motivators.
- Go to Their Turf: Don't wait for them to find you. Jump into the Discords and Telegrams of communities on the chain you just connected to. Start chatting, answer questions, and host an AMA to introduce your project and the new bridge. Be a human, not a shill.
- Show, Don't Just Tell: Record a quick, no-frills video tutorial. Seriously, a one-minute screen recording that walks people through the process is all it takes to demolish any fears or hesitation they might have.
The second that bridge goes live, you’ve basically built a highway to a brand new city full of potential users. Your marketing needs to be the welcome sign, the tour guide, and the free welcome drink all in one. Make it easy, rewarding, and exciting for them to come on over.
To really get the most out of your launch, you need to think bigger than just a single announcement. A solid cross-platform content strategy ensures your message gets in front of the right eyeballs on the right platforms. This is how you make sure your new bridge isn't just a quiet path but a bustling superhighway from day one.
What to Expect When Connecting a Bridge
Even with the clearest instructions, you're bound to run into questions when you're working with something as important as moving assets across blockchains. Let's be honest, it can be nerve-wracking for users. Knowing the common sticking points ahead of time will save you headaches and help you guide your community like a pro.
One of the biggest questions I always hear from marketers is about security. "Is this bridge really safe for our users?" It's a great question, especially since we've all seen headlines about bridge exploits. The best defense here is to stick with the big, reputable, and well-audited bridges. Think of the ones that have been around the block, have a solid track record, and have securely handled billions in transaction volume. Don't risk your community's trust on a brand-new, unproven platform.
"How Long Is This Going to Take?"
Get ready to hear this a lot. The truth is, transaction times can be all over the place—sometimes it's a few minutes, other times it can feel like an eternity (or at least over an hour).
It’s not always the bridge's fault, either. A huge factor is how busy the source and destination chains are. If you're moving assets off Ethereum and gas fees are through the roof, you can bet there will be delays. The key is to manage expectations from the get-go.
My Two Cents: Always, always, always encourage your community to use a block explorer. Give them the transaction hash so they can track their funds themselves. It’s empowering for them and dramatically cuts down on the "is my money gone?!" support tickets.
Dealing With the Inevitable User Hiccups
So, what do you do when a user runs into trouble? Most of the time, the fix is surprisingly simple. If you're ready for these common scenarios, you'll look like an absolute rockstar.
- The "My Funds Vanished!" Panic: This is the #1 freak-out moment. Nine times out of ten, it’s just a simple network delay. The first step is to have them check the transaction on a block explorer. If they can see it's confirmed on the source chain, their funds are safe—just in transit.
- The "My Tokens Are Stuck!" Problem: This one's a classic. A user bridges their assets over, but then they can't do anything with them. This is almost always because they forgot to get the native token for gas on the new chain (like needing MATIC to do anything on Polygon).
Being prepared for these little bumps in the road makes the entire experience feel smoother and safer for everyone involved.
We've covered some common questions, but you might have more specific ones about setting up your bridge. Here are some quick answers.
Frequently Asked Questions
| Question | Answer |
|---|---|
| Do I need to hold crypto to manage the bridge integration? | Not directly for the integration itself using a no-code tool like Domino. However, you'll need the destination chain's native token (e.g., MATIC, AVAX) in a test wallet to try out the user experience and troubleshoot. |
| How much does it cost to use a cross-chain bridge? | Costs vary. Users pay a small bridge fee plus the network gas fees on both the source and destination chains. These can fluctuate based on network congestion. |
| Can users bridge any token they want? | No, bridges only support specific tokens. You'll need to confirm that the tokens your community holds are supported by the bridge you choose to integrate. |
| What's the difference between a bridge and a centralized exchange (CEX)? | A bridge moves the same asset between different blockchains non-custodially. A CEX requires you to deposit your funds into their custody, where you can then trade for another asset and withdraw it to a new chain. |
Hopefully, that clears a few things up! Being prepared is half the battle.
Ready to create a seamless bridging experience without writing a single line of code? With Domino, you can embed a bridge, launch reward campaigns, and grow your cross-chain community in just a few minutes. Explore our no-code toolkit today.